How to make a window seat with storage
By Ellie Reeves | 3rd November 2023 | 7 min read
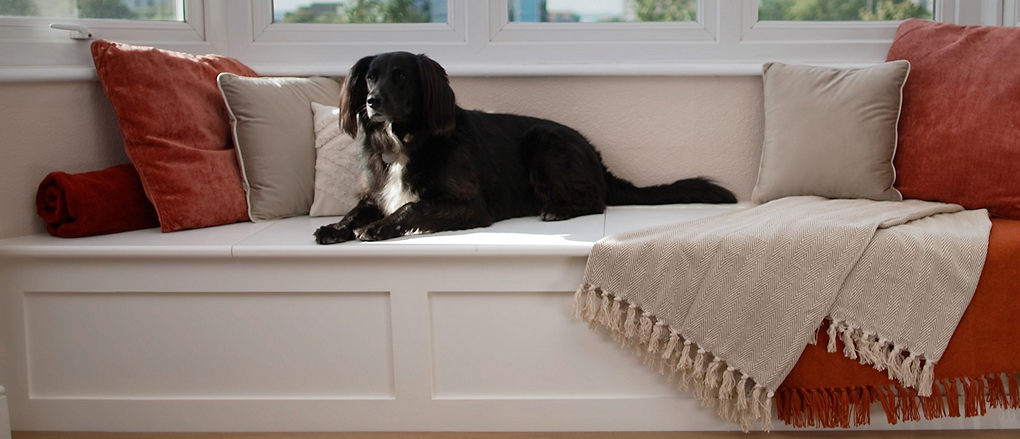
Are you dreaming of a cosy nook where you can relax, soak up the natural daylight, and watch the world go by? If you’re not sure what to do with the empty space in your window bay, consider building a window seat with storage space – perfect for keeping spare cushions or blankets. In this article, we’ll guide you through the process of building a window seat in a bay window. Whether you're a seasoned DIY pro or a novice looking for a new project, carry on reading to find out how to make a bay window seat.


Safety first
As you begin building your window seat, ensure that you have all the necessary safety gear within reach. This includes protective eyewear, gloves, and a dust mask. When using power tools, take extra caution and care. Always read the instructions and familiarise yourself with how they work before powering them up. Keep the work area clean and well-lit to avoid any accidents. If at any point you feel unsure or uncomfortable about a particular aspect of the project, seek assistance from a professional or someone with more experience.
Tools & materials you’ll need

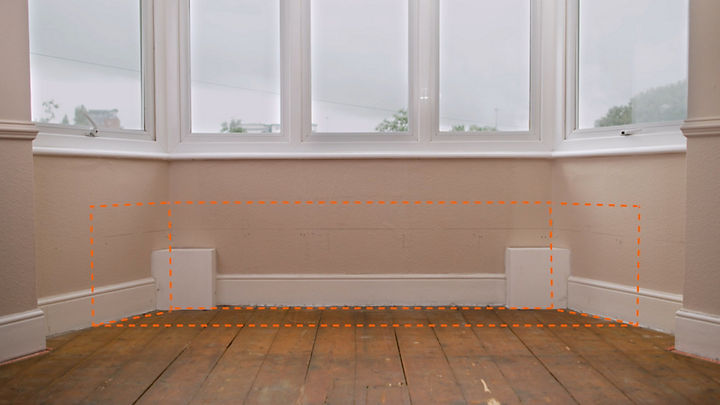
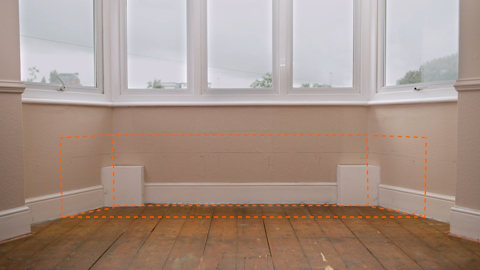
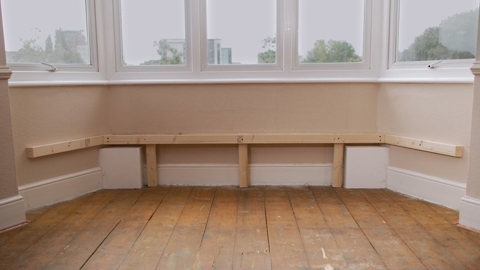
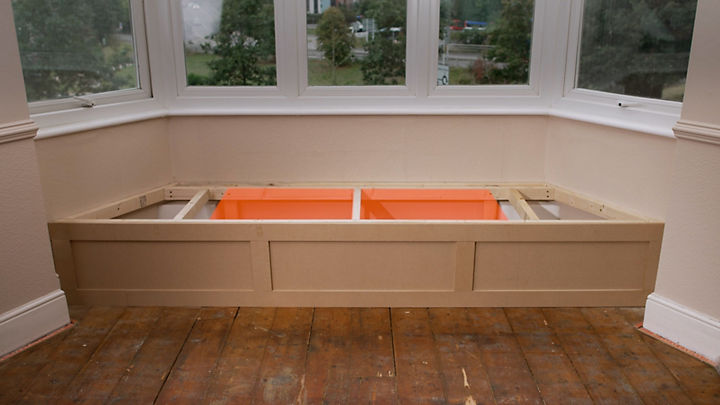
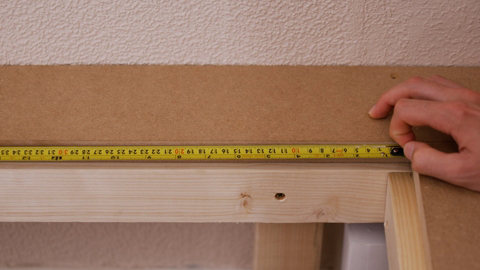
1. Clear the area beneath your window and measure the space
Mark out the height for your new window seat (we recommend 45cm as a comfortable sitting height).
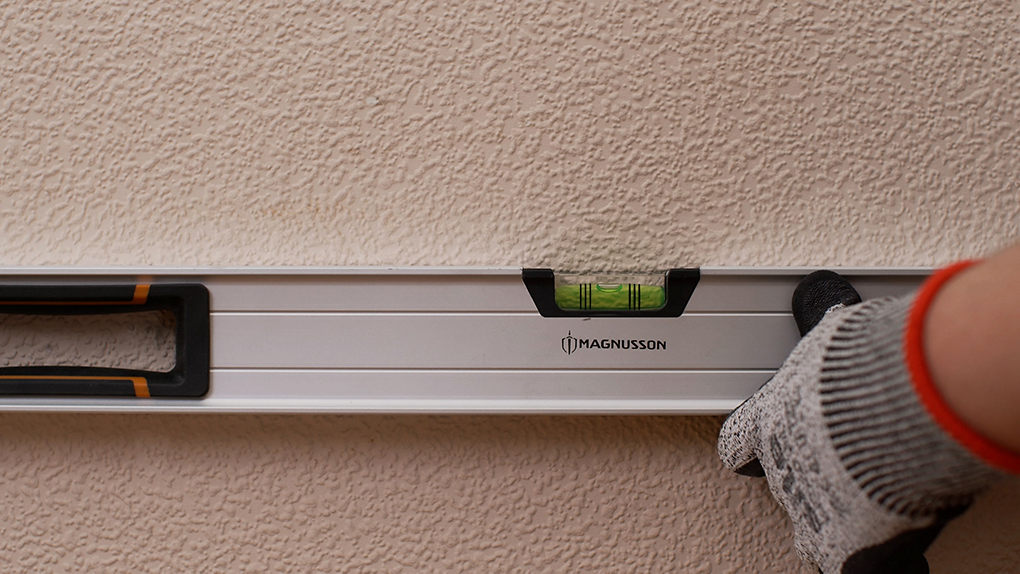

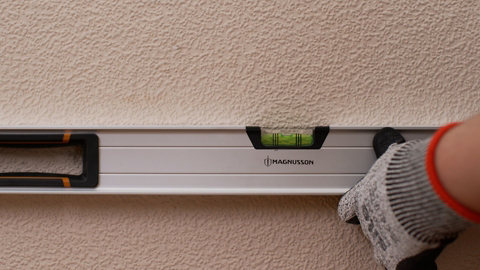
2. Mark out the height of your bench
Use a spirit level to draw a horizontal line all along the walls to mark where the top of the bench will be.
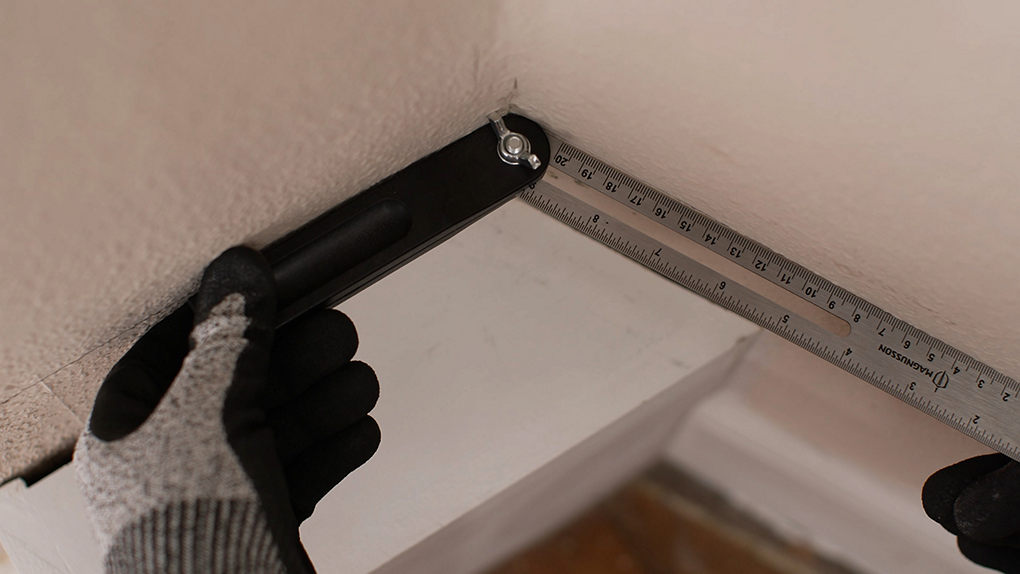

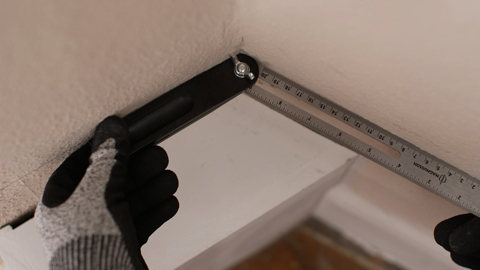
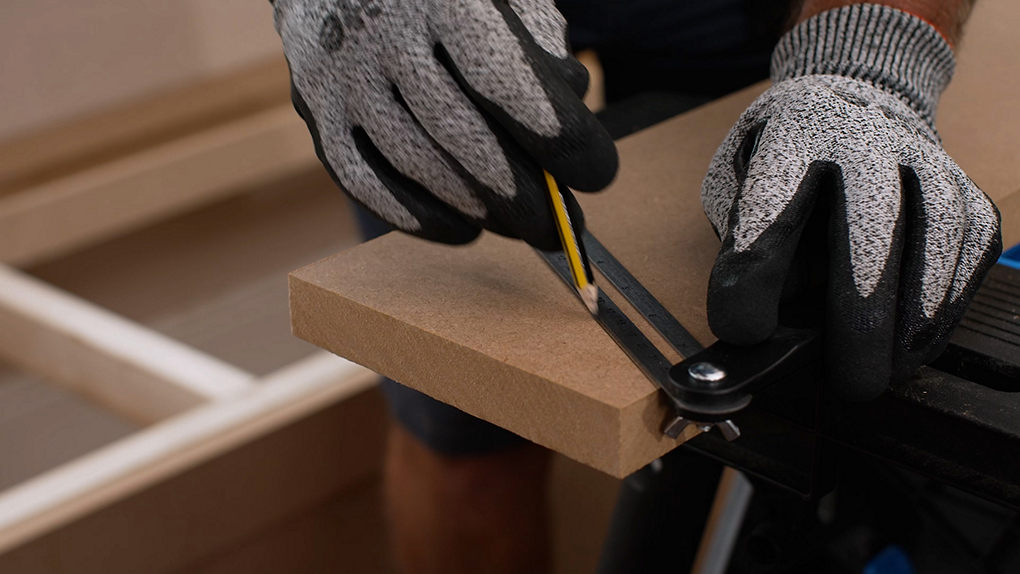
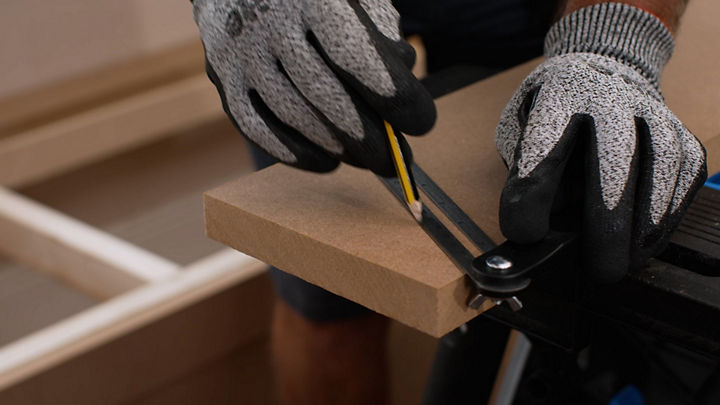
3. Use an angle measurer to work out any joining angles for your horizontal pieces and use a saw to cut your timber.

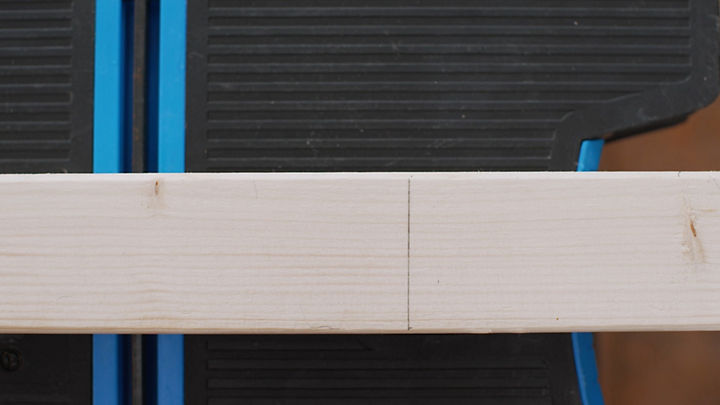
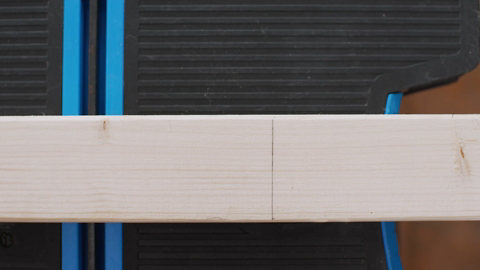
4. Measure and mark the height of your vertical pieces and cut them with a saw.


5. Use a stud finder to find the stud and avoid pipework and electrics
If you know there are no pipes or electrics, you can try to find the stud by drilling small pilot holes and mark.

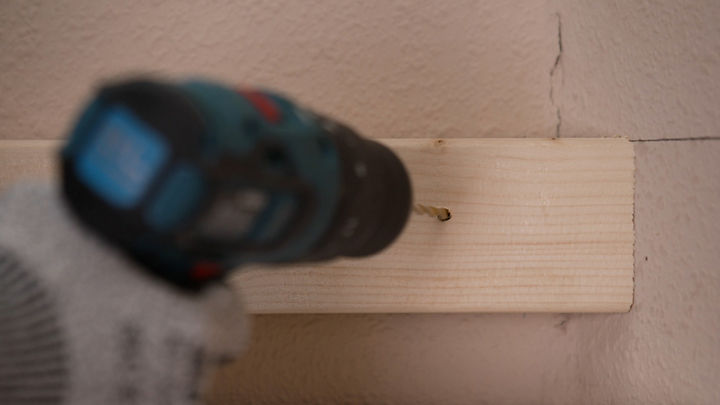
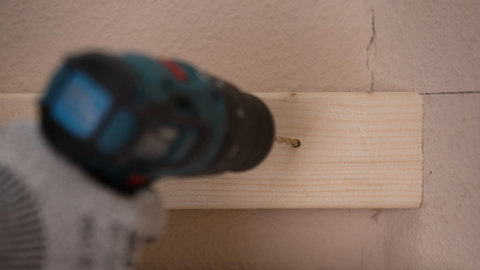
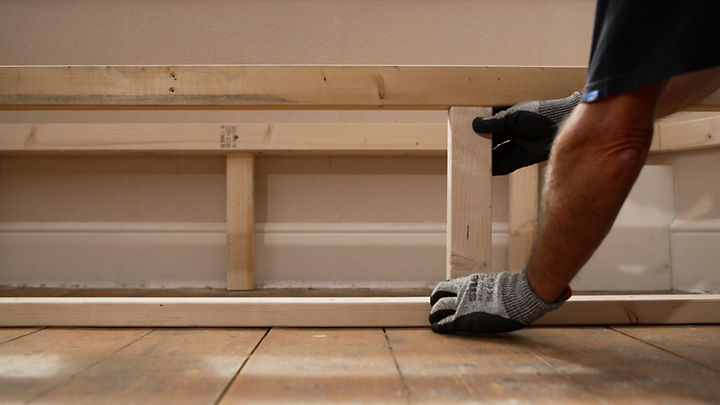
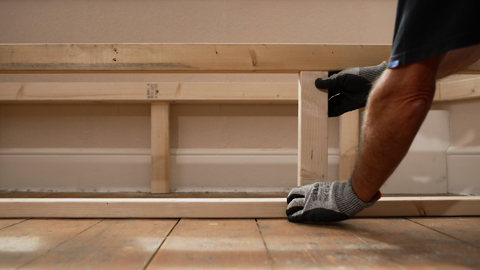
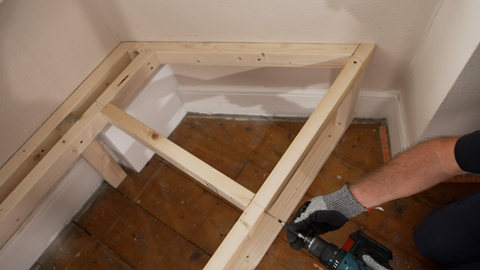
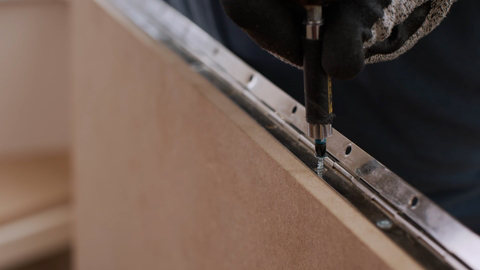
6. Make pilot holes in your timber and screw into the wall with double-countersunk screws.

7. Repeat the process until all pieces of timber are affixed to the wall.

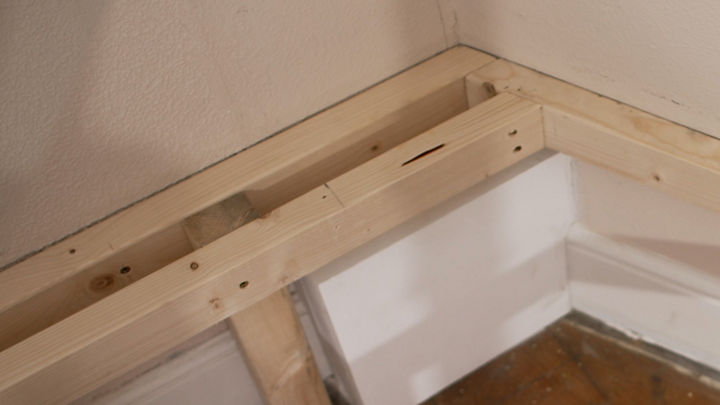

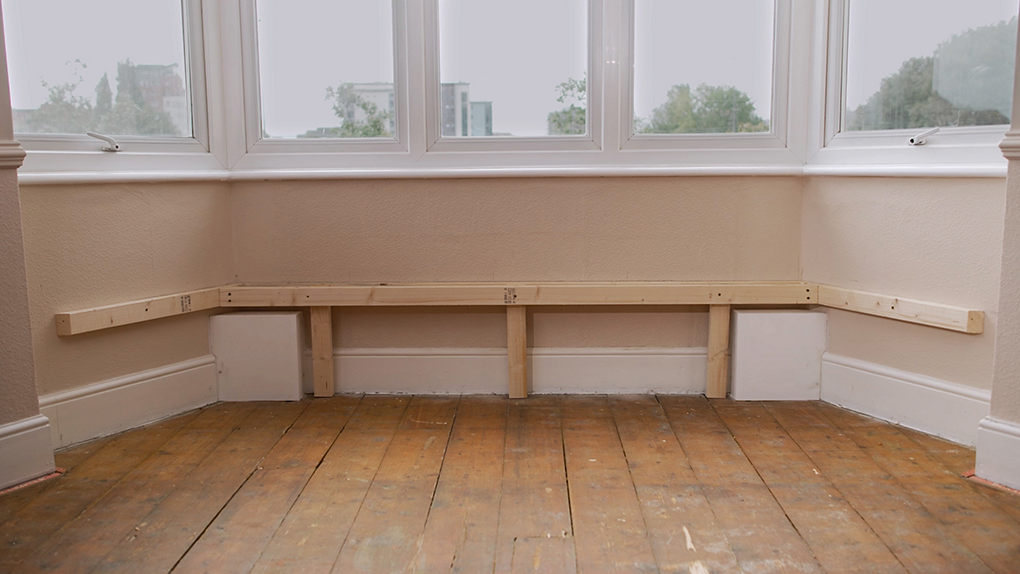
8. Sandwich the vertical pieces by adding another timber piece for additional strength.


9. Secure the two front horizontal pieces in place.
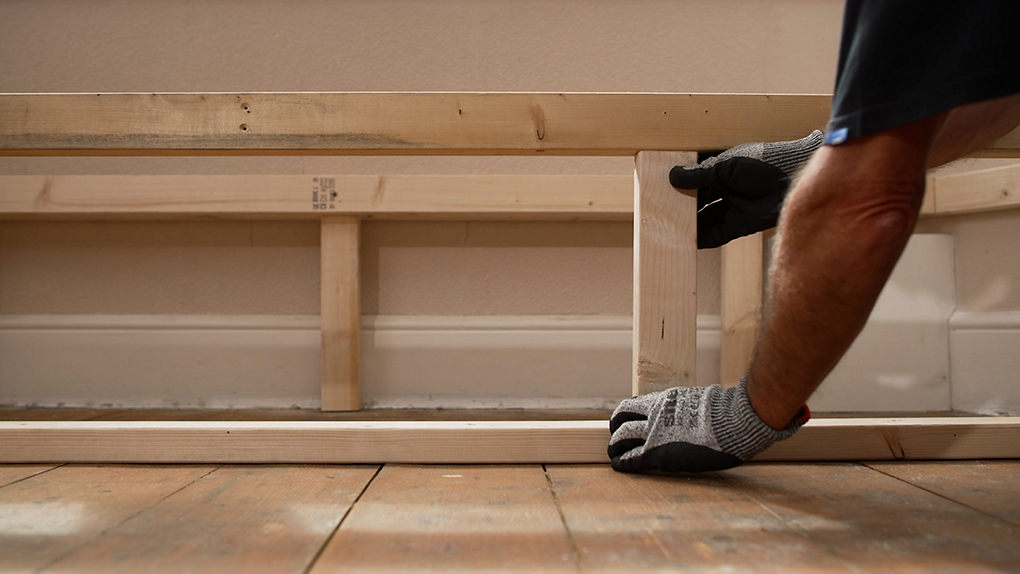
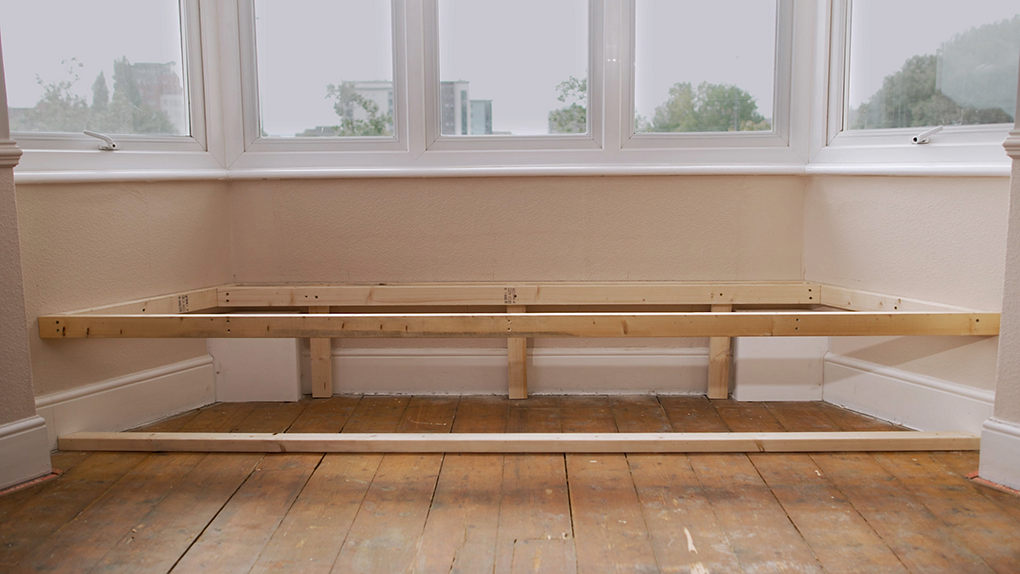
10. Measure and cut two pieces of timber to create vertical support beams
Add them equal distances across the length.

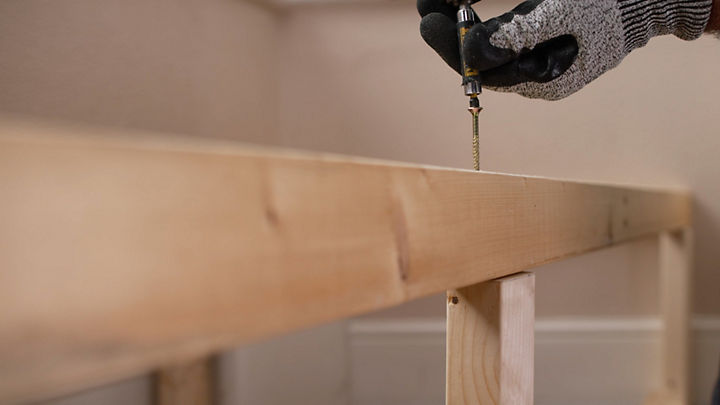

11. Use a countersink drill bit then screw the timber pieces together.
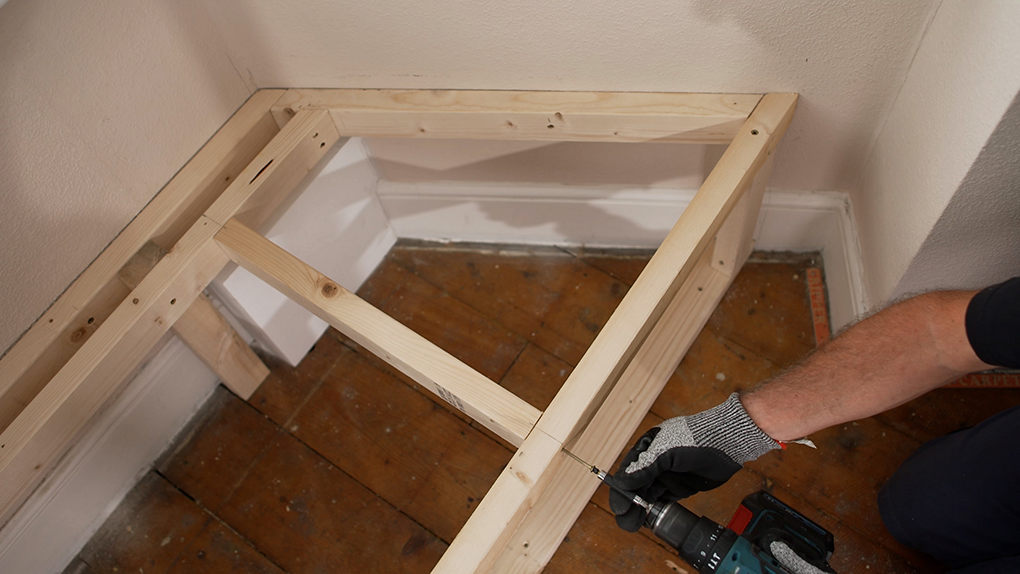

12. Measure and cut two pieces of timber to create horizontal support beams
Add your horizontal beams either side of the window seat.
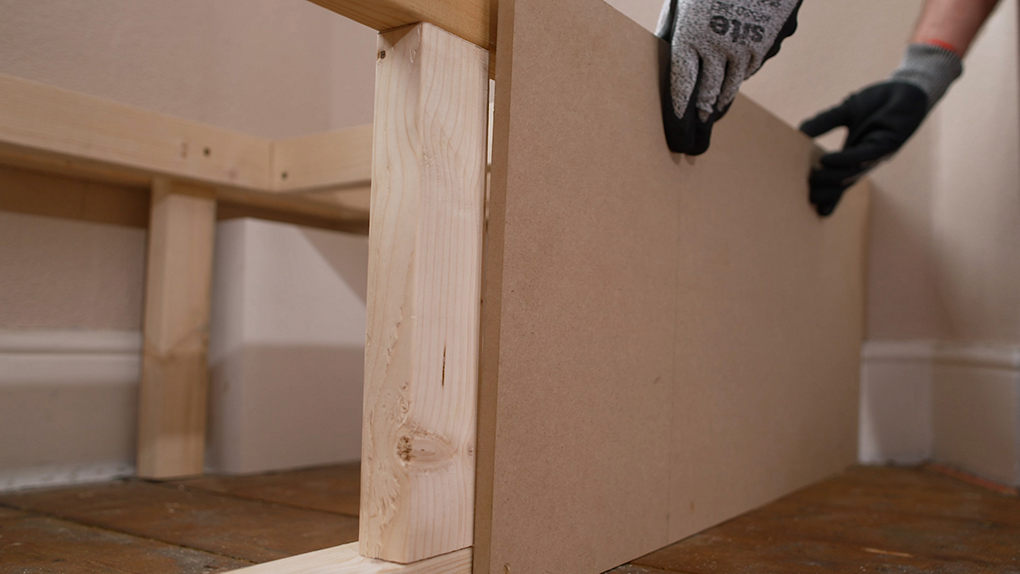


13. Measure and cut strips of MDF to the size of your front face.
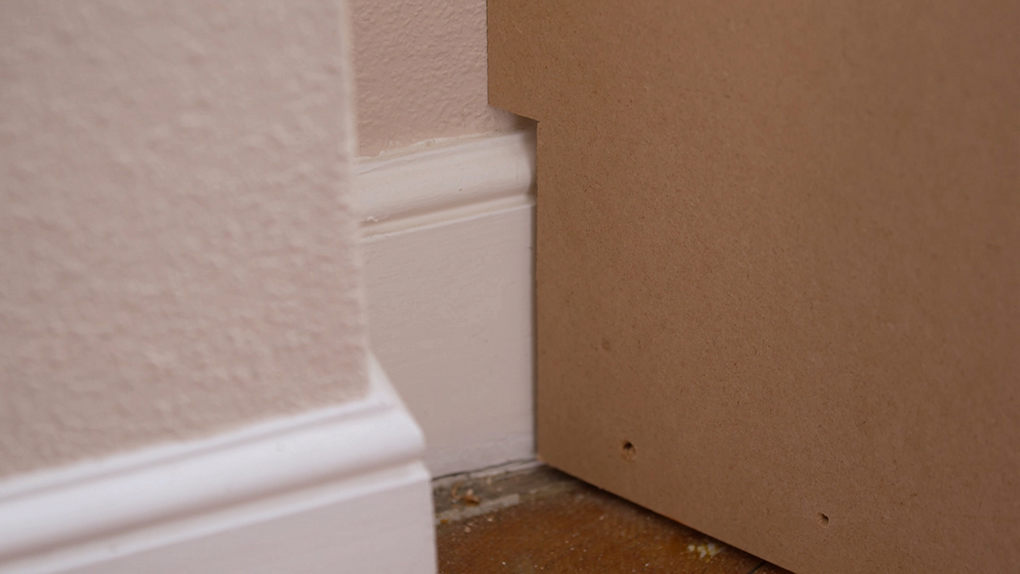

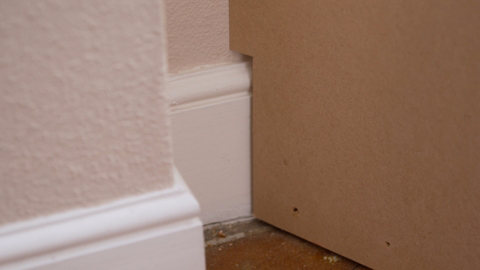
14. Cut out a small section to go around your skirting. Secure the MDF in place.

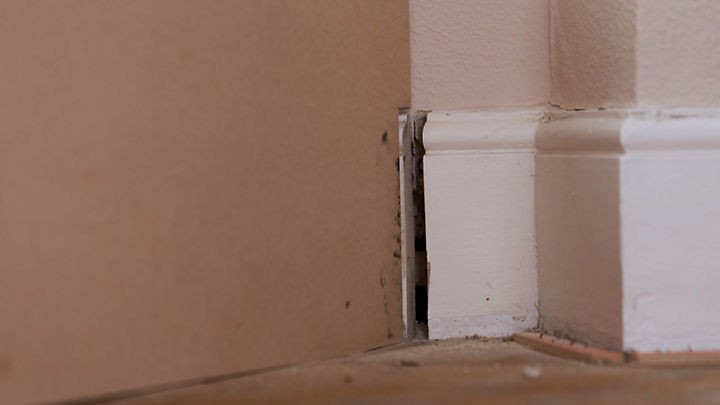
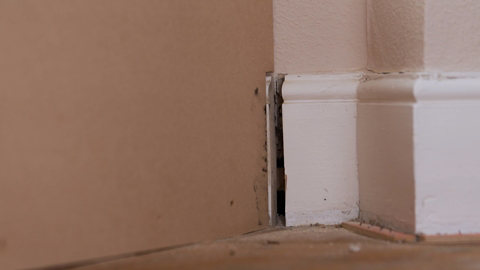
15. Use a multi-tool to cut a section of your skirting out about the thickness of your MDF
This allows space for moulding.

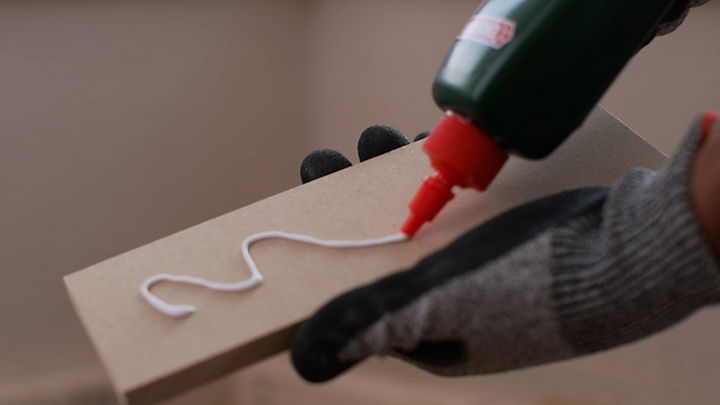

16. Use wood glue to stick the moulding to your bench and use a clamp while it dries.

17. Before cutting your top plywood, choose how many lids you want (we’re going for two).

18. Measure your angles and cut your plywood to size
Add an inch to the front pieces to create a lip. Sand down your rough edges.

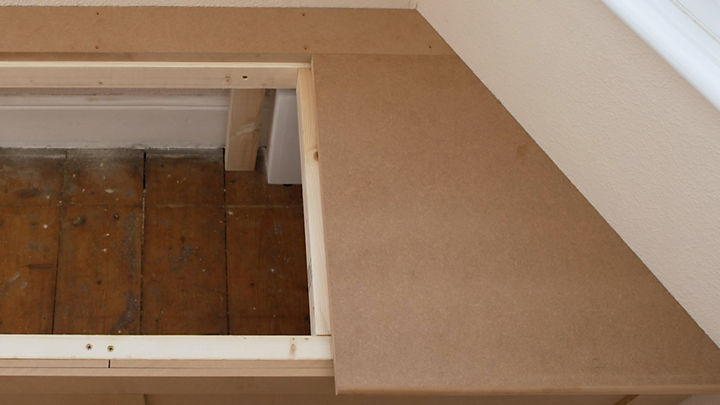

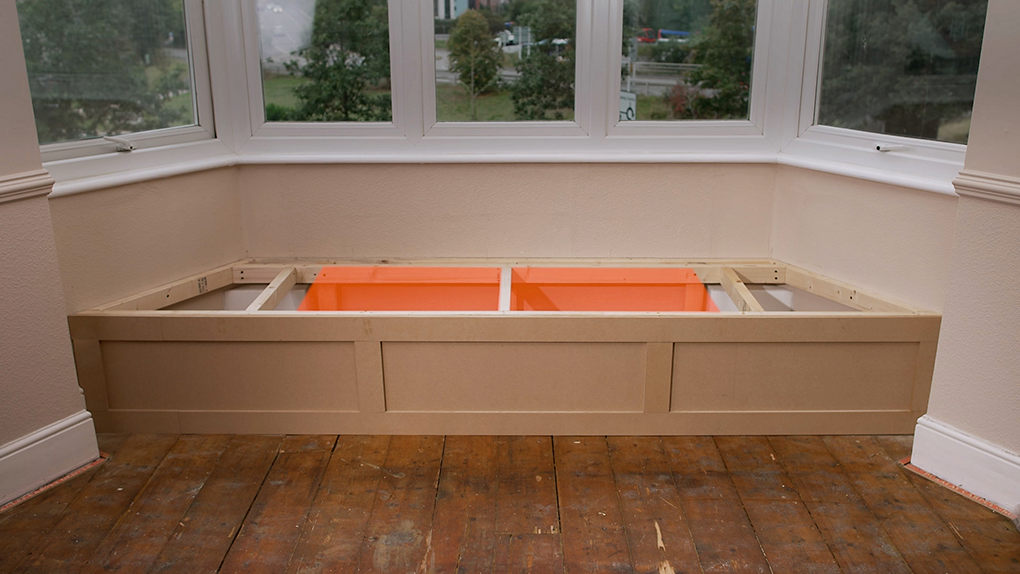
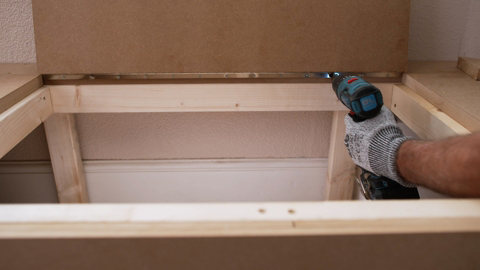
19. Secure your pieces of plywood into place
Line up the top edge pieces with the centre of your horizontal support beams.


20. Measure the distance between your edge pieces and divide it by the number of lids to find your lid width.

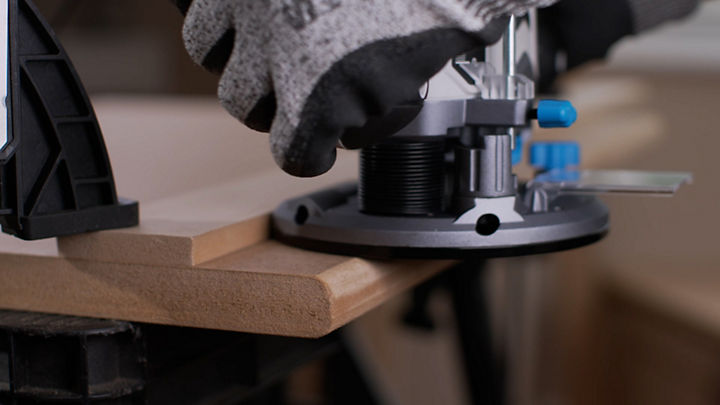

21. Use a router to make a bullnose on the lids.


22. Attach hinges to the back edge of the lids.


23. Then attach the lids to the bench.


24. Use a ready mixed smoother to cover any holes or joins.
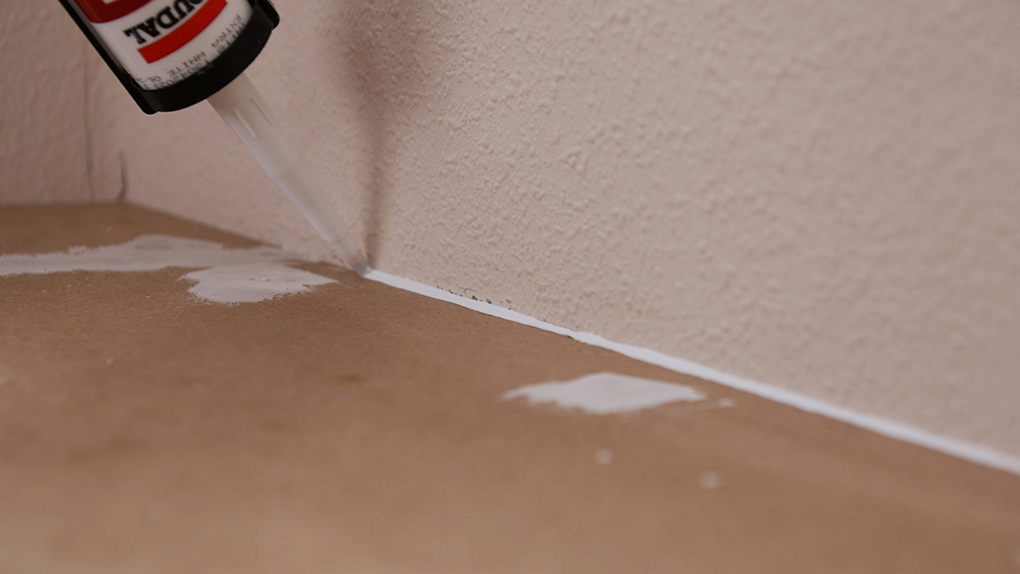
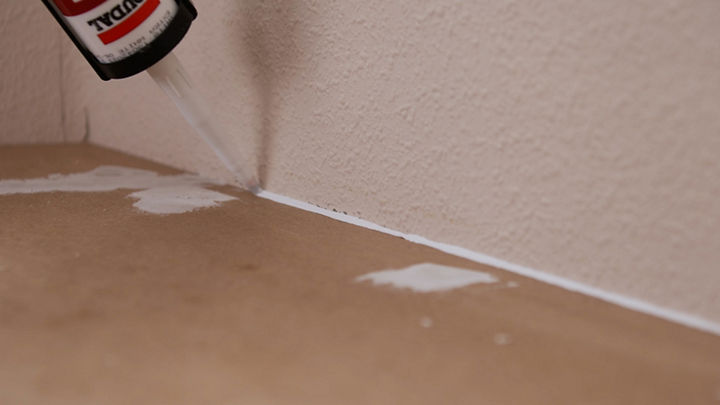
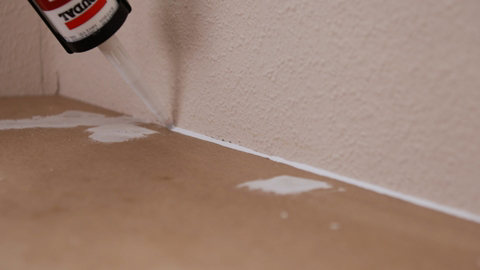
25. Use caulk to seal around the edges against the wall.

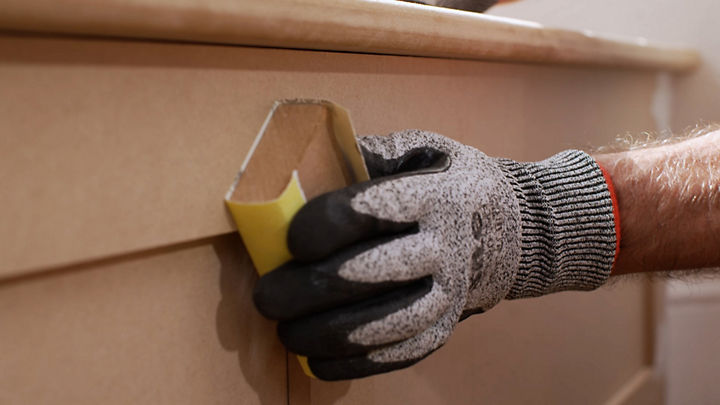
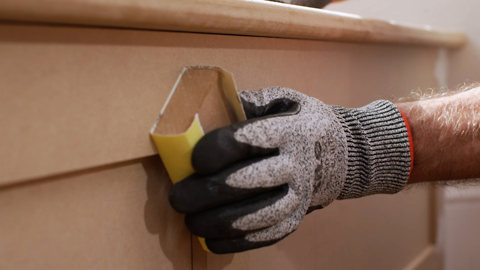
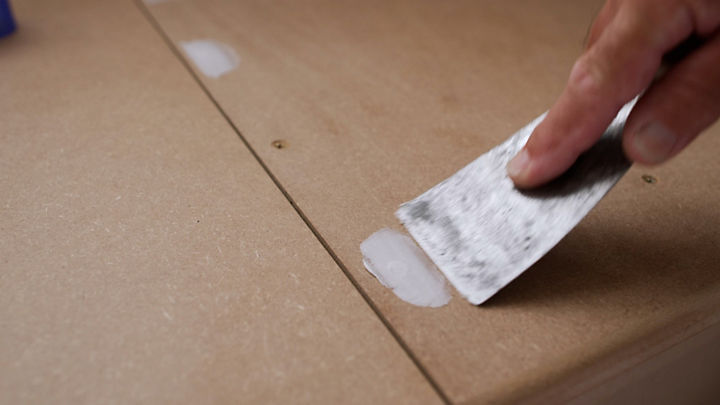
26. Use a sanding block to sand down any rough surfaces and edges.

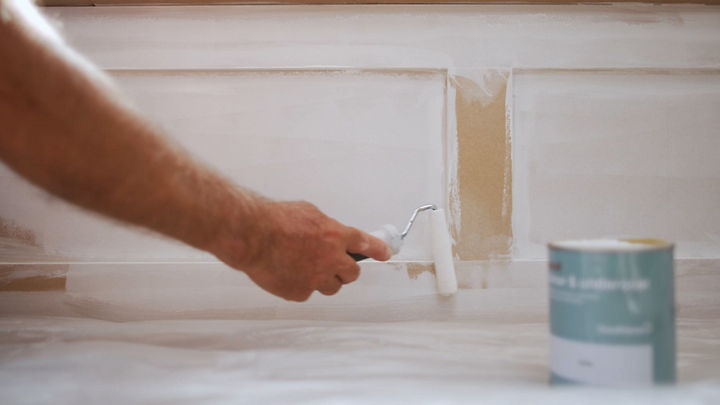

27. Prime and paint your window seat
Using primer underneath will help the paint to stick and give you a better, longer-lasting finish. Water-based primers are best for wooden surfaces. Follow the instructions on the tin of your primer.
Once dry, it’s time to paint your new window bench. Use a small paint brush to get into the grooves, and the finish it off with a small paint roller. Wait for it to dry and then go over it with a second coat.
28. You're finished!
Once your window seat is dry, decorate it with cushions and blankets to make it a cosy spot to sit.
There you have it! You’ve made your very own window seat with storage. Sit down, relax, and enjoy your new window seat. If you’re looking for more DIY furniture ideas, check out our range of articles for advice and inspiration.
