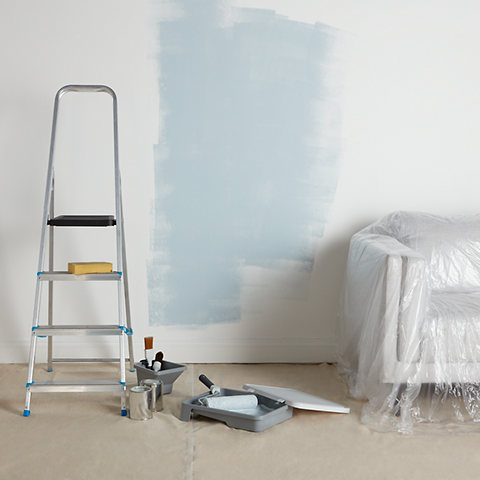
Get creative with paint
What do you see when you look at an empty white wall? We see opportunity, a canvas, a space ready for your story to be told. Forget the rules of neat edges and monotonous magnolia, where’s the fun in fitting in? With each painting project there’s a chance to release your creativity.
Embrace your inner artist with painting techniques that are easy and inexpensive to recreate. From ombre to geometric, you don’t need to be an expert to fill your home with colour. Make a striking statement that you never thought possible.
We’ve put together this guide to help you express your wild side with paint. With all the inspiration advice, tips and tricks you need to take your walls from bare to brilliant.


Metallic paint
For luxurious texture, leaving you with gleaming, luminous walls choose metallic paint. Most of our metallic paints are water-based, which makes them easy to apply and clean from your brush (or hands, or face…). You can use the same techniques as you would other paints, but It takes a little extra care to get a good finish over a large area. We recommend using a short-pile roller in vertical strokes, working quickly.


Glitter paint
A unique choice that gives you shimmering highlights evoking the feeling of a beautiful dream, glitter paint is one of our favourite ways to easily add a new dimension to your room. Our GoodHome feature wall glitter effect paint ranges from bold bright pinks to contemporary calming greys.


Chalky finish paint
The Rust-Oleum Chalky Finish range brings a rich, deep, super matt finish, the ultimate in modern sophistication. In a selection of shades that includes a creamy duck egg and a soft dusky rose, there’s no room that can’t be covered in this sumptuous paint.

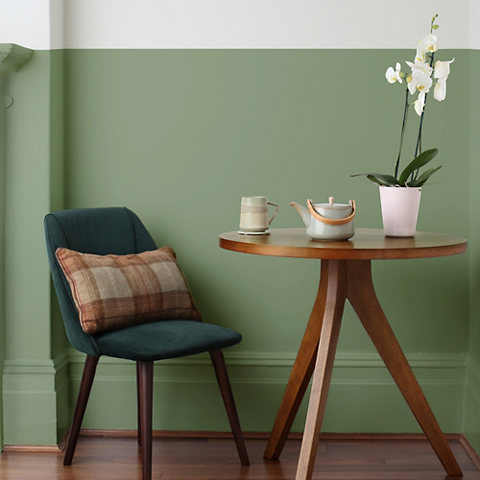
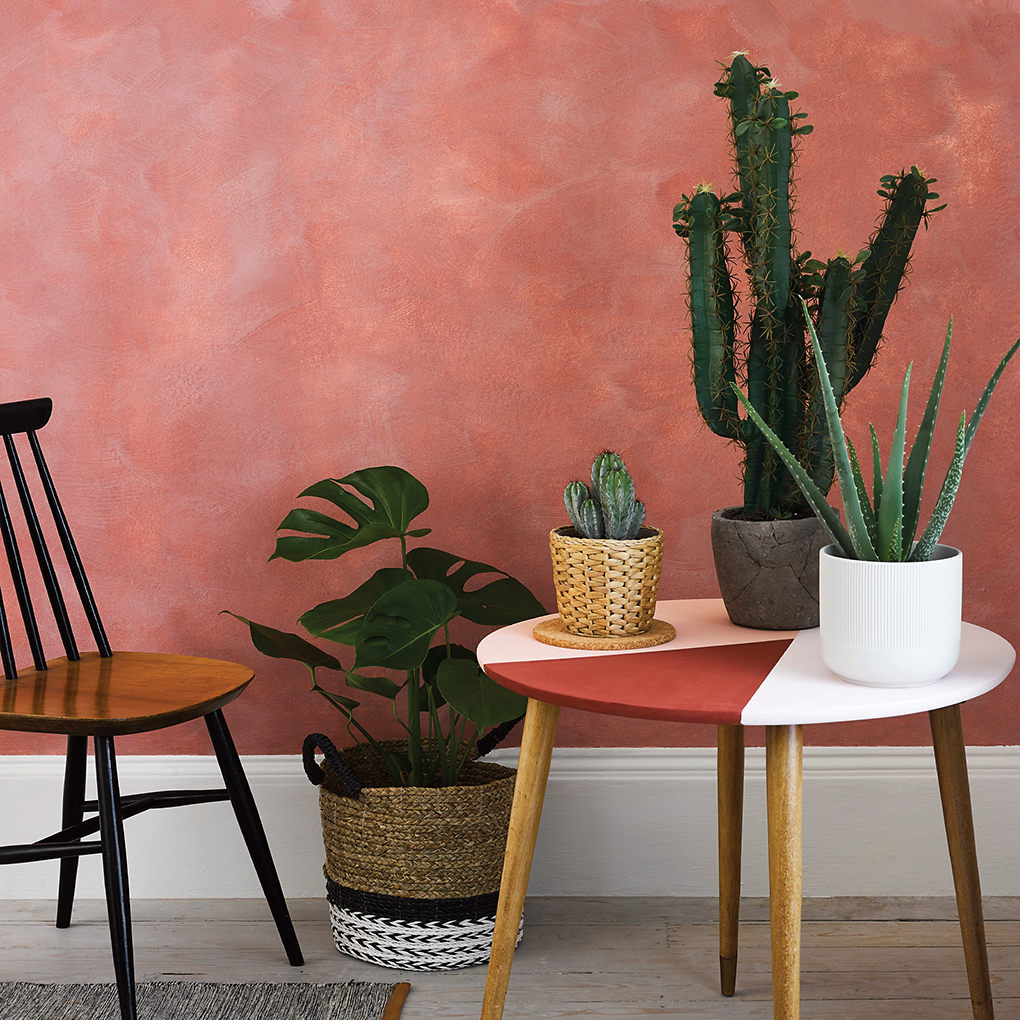
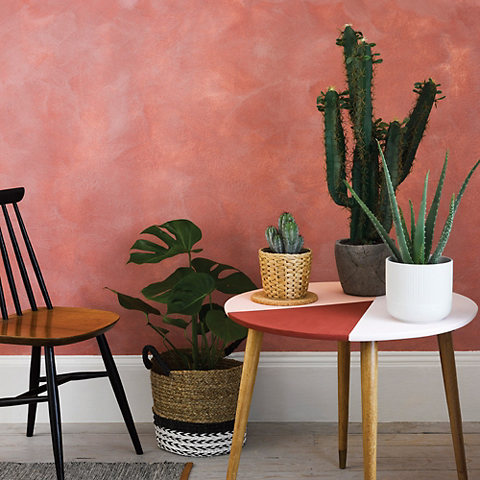
Chalkwash paint
Choose Rust-Oleum Chalkwash paint for a chalky, nuanced texture that adds depth and character with an elegant and timeless finish. Reminiscent of limewashed walls from an exotic destination, this is an easy way to inject some instant intrigue into your space.

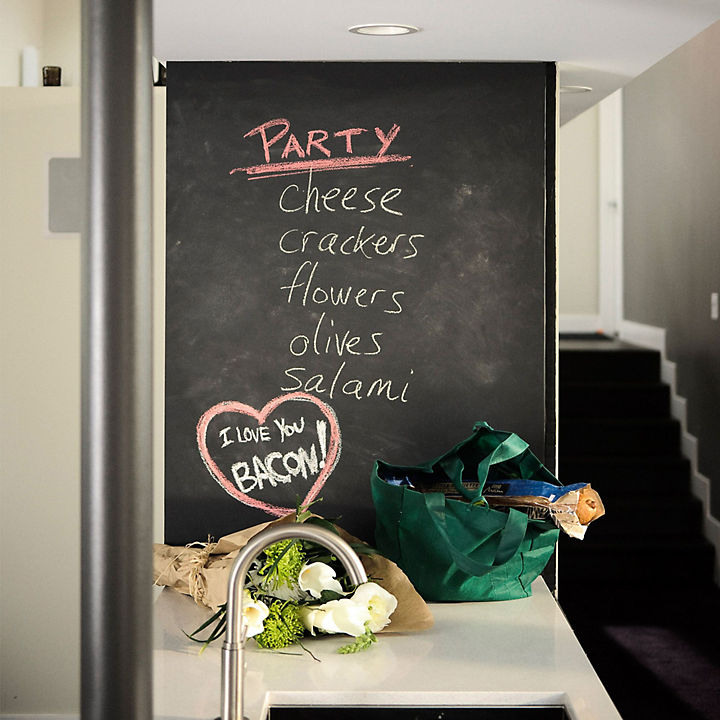
Chalkboard paint
Whether it’s the pièce de résistance to your study, or a place to share the family schedules, chalkboard paint is a really fun way to transform a room. The paint turns the wall into a canvas for whatever hand-painted creations you'd like. If you’re picturing a black expanse that doesn’t fit your style don’t worry, chalkboard paint comes in a range of shades too.


Dulux Simply refresh
Part of the Dulux interior paint range, Simply Refresh is its shiny new member – and a speedy one too. What’s on offer? One-coat guarantee* paint (this means less time on your project) and touch-dry ceilings and walls in 4 hours. The 30-strong collection of matt colours means there’s something for every taste too. Plus, the 1.25L Feature Wall tins are perfectly sized for smaller jobs and available in 15 colours.


We think you'll love...


Tools for the job
A great paint effect isn’t all about the tin, having the right tools for the job will give you a much better chance at success.
From painting must-haves to decorating heroes, say hello to our new range of tools – essentially, your favourites improved. Find products for better accuracy and control (think super high ceilings) and clever features that cut the chance of mess (and arguments). Handy storage solutions take the faff out of stopping and starting, so you can make more time for tea breaks and spend less time tidying up.


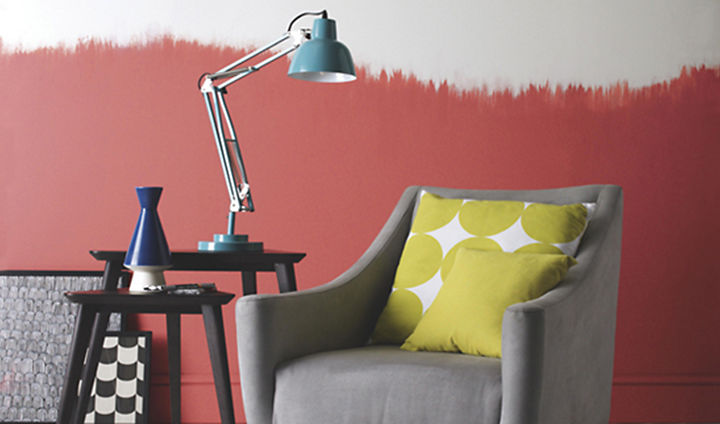
Creating a feathered effect
Why not combine different shades of paint to create a feathered effect pattern on your feature wall?
Step 1
Brush on the lighter shade first. Then, when it's dry, dip your roller into the bolder shade. Start at the bottom of your wall and finish about half-way up.
Step 2
Now take your paint brush and, using upward brush strokes, continue painting. Gently lift your brush as you reach the level you want to get an uneven edge.


Creating a geometric pattern
This is the Instagram opportunity you’ve been waiting for. Geometric patterns have burst onto the interior decorating scene, and it’s easy to see why there are so many people exploring this trend. To create a masterpiece moment with just masking tape and paint take a look at our video guide.
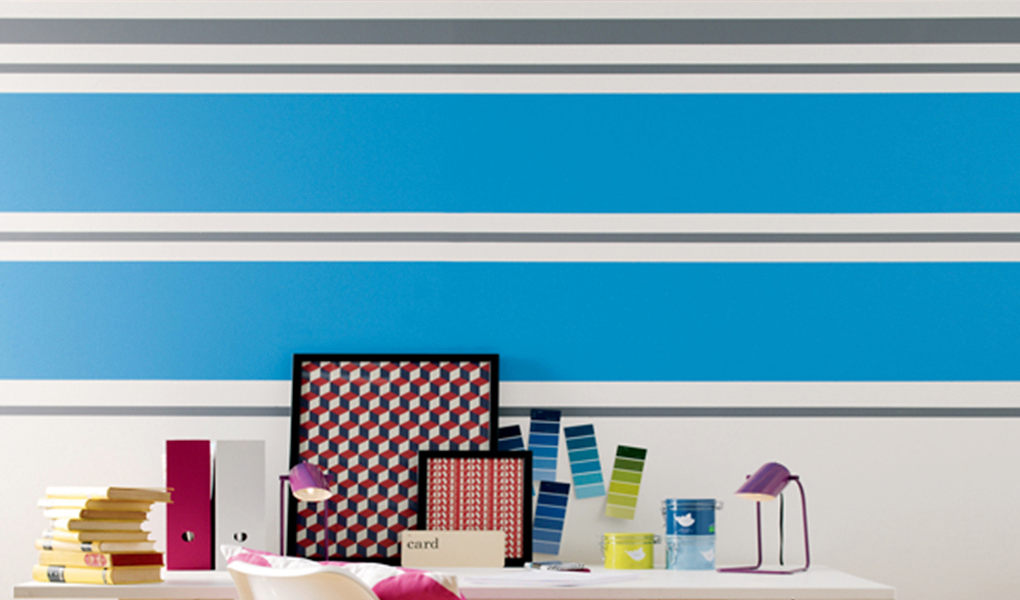
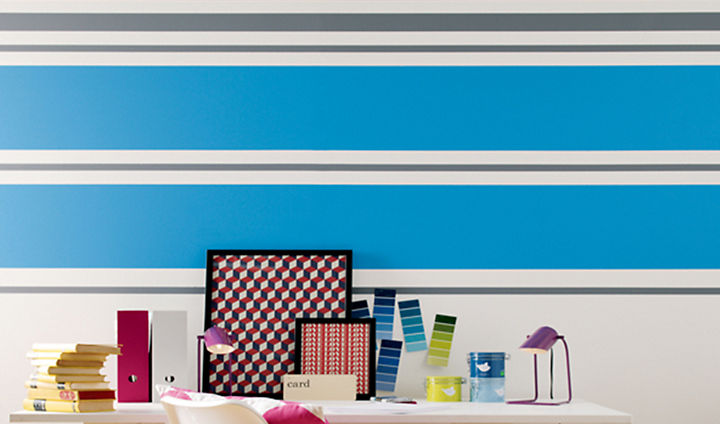
Creating graphic stripes
We know that a new coat of paint can totally transform your room, but graphic stripes intensifies this impact, giving you standout walls in just a few easy steps.
Step 1
Paint your wall with the base colour. Once it's completely dry, use measuring tape to divide the area into bands. Draw the lines on the wall with a pencil and ruler. Use a spirit level to check that all your lines are straight.
Step 2
Outline your stripes with masking tape, pressing it firmly against the wall. Then paint the stripes with the second colour and add a second coat, if needed. When your second colour is completely dry, carefully remove the masking tape.